I said back in my
LED Lamp post that I would knock up a quick guide on how to create those types of images and as promised, here we are!
Before we get started, here are a few things that you'll need:-
-Camera :)-Tripod - Not essential but if you haven't got one then you'll need to put the camera on a firm surface and make sure that it does not move between shots-Subject matter (for this purposes of this guide, I used a Champagne bottle-Torch or other light sourceRight, now we can get started
1. Set up your shot with the elements that you want to include. I just went for the bottle with a plain black background.
2. With the room lights on, focus on your image (I just used auto focus). Once focused switch the lens to manual focus - This will stop it trying to focus once the lights are out.
Switch the camera to a long exposure mode. I used the camera in manual (M) and set it to bulb mode with the largest aperture.
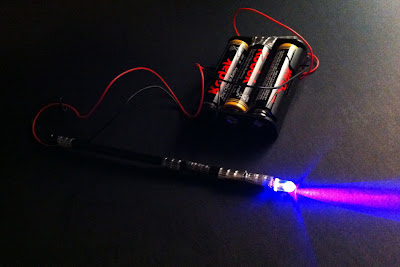
3. Switch off the lights and take some shots while illuminating the subject matter with with your light source. I used a home made UV light as seen below.
Here is my image of the Champagne bottle lit by the UV light
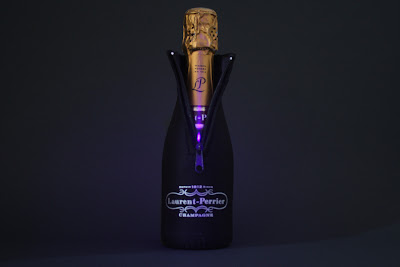
(3 second exposure at f/4.5)
4. Right, with that shot in the bag you now can now take the light painting arty shot. I swirled my light around the bottle but you can do anything that you fancy.
Here is my image of the UV pointer swirling around the bottle
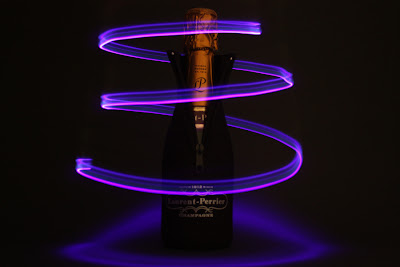
(2 second exposure at f/4.5)
5. You now have to combine the 2 images using your image editing software. There are various ways that you can do this but I followed the simple steps below...
-Open both the images in your preferred image editing software-Copy the second image that was created (light painting one)-Paste this as a new layer in the first image that was created-Set the layer blending mode to ScreenThis is basically it - You may want to make many other adjustments to the image but this is a simple guide to the fundamentals of creating this sort of merged light painting image.
Here is my final image
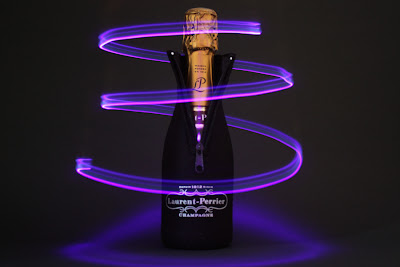
I hope I have been fairly clear in this tutorial and it all makes sense! If there are any glaring mistakes or you're having trouble following the steps then please comment and I will rectify / give you some pointers.


 Posts
Posts


