Showing posts with label infrared. Show all posts

Friday, 5 June 2009

Infrared With Canon EOS 450D - Part 3

Right, here we are with the final installment of infrared photography with the Canon EOS 450D.

Here I will cover the questions that I've been asked on this topic.

Q: I'm playing with IR too but I having problems with noise?
A: If your ISO level is set to automatic I would manually set it down to something like 100 to help reduce noise.

Then try taking a shot with a smaller aperture / slower shutter speeds. It will take some experimentation but should reduce noise. I always use a tripod for IR shots due to the long shutter speeds.

Your photo editing software should have something like a digital noise reduction filter which may also improve the image but sometimes this may also reduce the clarity of the image.

Q: I'm pulling my Hair out trying to do some IR photography. No matter how hard i try it doesnt work at all.... i just get a horrible red and black image.
A: Sounds like a white balance issue. Follow the suggestions in Part 2 which should help to correct this.

Q: My images are coming out very blue and overexposed?
A: When using slow shutter speeds in sunlight it is important to cover the viewfinder to stop extra light entering through to the sensor.

Q: Can you take IR shots in cloudy weather conditions?
A: Cloudy weather can work with IR too, it just may mean longer exposures and larger apertures (lower f/ numbers) to allow more light in. Here is a shot on flickr which inspired me to get an IR filter. As you can see, I've still got some way to go!

Q: Would you suggest a modification of the Canon EOS 450 to remove the factory shipped IR cut filter?
A: I have seen the process to remove the factory fitted IR cut filter on sites like ghonis2.ho8.com but it is not something that I would carry out on my 450D at the moment.

With some experimentation, you can get some good results on the 450D without the modification.

Q: Do you have any other tips?
A: I've found that looking at other IR photos can be of help (especially when you can see all the camera settings that were used). There are some good IR shots in these Flickr groups....

www.flickr.com/groups/infrared
www.flickr.com/groups/55027594@N00

Also, some other good tips can be found here


Please use the links below for the other 2 parts of this topic.
Part 1
Part 2

Monday, 6 April 2009

Infrared With Canon EOS 450D - Part 2

I have noticed that the most popular entry page to my blog is my post on infrared photography with the Canon EOS 450D (Digital Rebel XSi in the US). I have also been asked via email and blog comments various questions on this topic so I thought I would write some follow up posts on the subject.

I am by no means an expert in this subject but will attempt to cover the steps I take when shooting infrared photographs using the 450D.

Infrared photography is a lot harder on the Canon EOS 450DCanon 450D than on my Canon Powershot S2 point and shoot. This is mainly due to the 450D having a factory fitted IR cut filter which reduces the infrared light entering the camera. Because of this, slower shutter speeds are required to allow the smaller amount of infrared light entering the camera to show up.

Here is a step-by-step guide of how I take IR photos using a dSLR.

  • 1. Setup a tripod and the camera then compose a shot with AF switched on. Depress the shutter release button half way so that it automatically focuses then release

  • 2. Attach the infrared filter with the lens AF still in the On position - This reduces the movement on the focusing ring when screwing on the filter as it is locked when the AF is switched on

  • 3. Remove viewfinder eye piece from the back of the camera (this just slides off upwards) and attach the rubber cover that is on the neck strap. This will prevent additional light entering via the viewfinder

  • 4. Switch the AF on the lens to the Off position as the camera will not be able to auto focus with the filter attached and we have already composed and focused the shot

  • 5. Set the camera to M (manual) mode then adjust the settings for shutter speed and aperture and take some test shots until you are happy with the amount of light in the shot. Once enough light is coming through you will notice that the shots are very orange or red in colour. That is nothing to worry about - we will rectify this in the next steps

  • 6. With the same camera settings and the filter still attached you will need to take a photograph of something completely white. A white sheet of paper held in front of the camera for the duration of the exposure will do the job fine

  • 7. Press Menu on the camera and go to Custom WB then press Set. The photo that you just took of the white sheet of paper should appear so press Set again to confirm. You may get a warning stating that the 'Correct WB may not be obtained with the selected image' - Just override this and select OK then exit the menu

  • 8. Press the WB button on the back of the camera and select Custom

  • 9. Now you are ready to take some shots. If you have a remote or cable release then use it to avoid any camera shake when you press the shutter release. If not then just set the auto timer to 2 or 5 seconds so that you are not touching the camera when the shot is taken.

  • 10. You now have the perfect shot!


  • This will still involve a lot of trial and error but I've found it to be a good basis. You can also substitute different colours for the custom white balance (other than white) to get various results.

    The example infrared shots below were taken with the standard 19 - 55mm kit lens and a 58mm Kood infrared filter.

    Here is the shot without the filter. Pretty boring!


    Here is the IR shot straight from the camera - Taken using 30 second exposure, an aperture of f/4.5 and ISO set to 100.


    Here is the same image again but with some post processing I have swapped the red and blue channels (something which seems to improve infrared shots taken on the 450D). I have also carried out some manual colour correction to make the grass and shrubs look lighter and increased the hue to brighten up the sky.


    Here is another example shot using the same camera settings and post processing methods.


    Part 1 of this post can be found here and I will also soon publish Part 3 where I will cover the common questions which I have been asked so far.

    Thursday, 11 September 2008

    Infrared With Canon EOS 450D

    After enjoying experimenting with infrared photography on my trusty Canon Powershot S2IS and lens adapter kit (see previous post), I decided to try out the 58 mm Kood R72 infrared filter on the 450D.

    On the Powershot S2 you just attach the filter and you can see the shot on the screen and adjust the settings before taking the picture. It was more difficult than expected on the 450D as once the filter is attached you can barely see anything through the viewfinder (In hindsight I should have tried it in Live View mode which may have helped!!). I ended up having to compose each shot without the filter, focus then carefully attach the filter to the lens and hope for the best. It was a fairly windy day and as I required about a 15 second exposure I lost a few pictures to blur even though I was using a tripod.

    I was using a custom white balance achieved by taking a photo of a white sheet of paper with the filter attached then setting that as the default but you can achieve different results by using the colour of foliage or anything you desire as the custom white balance. Many examples can be see in the Digital Infrared and Infrared groups on Flickr.

    In the 2 shots below I swapped the red and blue channels in post processing to improve the colours.


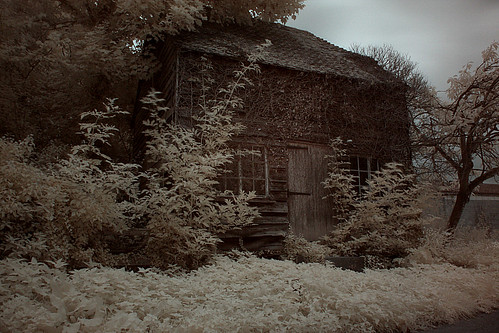
    Overgrown

    Feeding the City
    -----------------------------------

    Here are some of my previous shots taken with the Canon Powershot S2

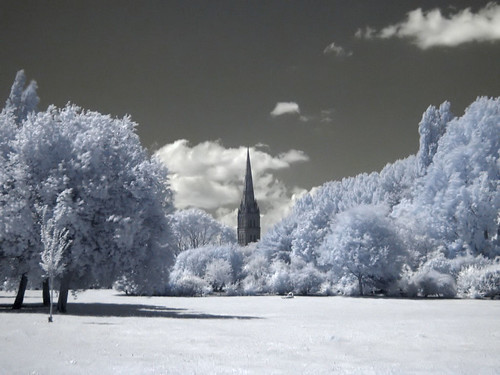
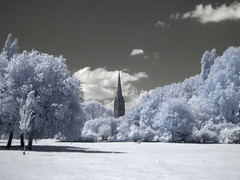
    Infrared Cathedral

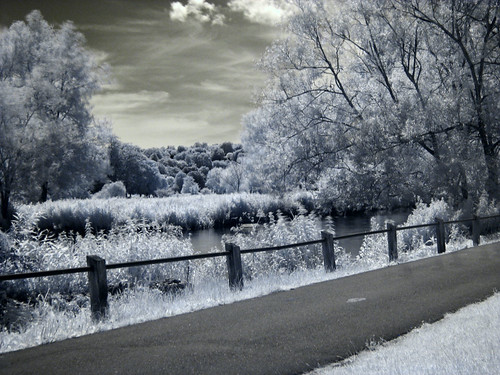
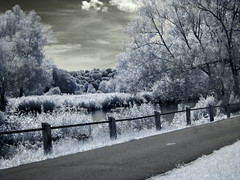
    Infrared River Avon

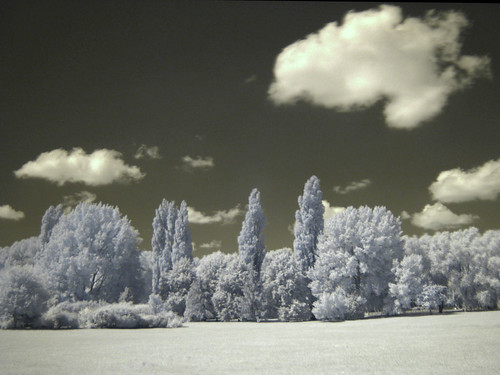
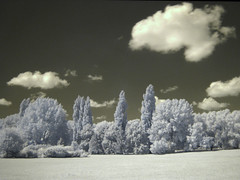
    Infrared Trees


    ** Updated 6 April 2009 - See Part 2 **

    ** Updated 5 June 2009 - See Part 3 **

    Tuesday, 19 August 2008

    Infrared Heat

    Taken in my garden the other day during a brief spell when it wasn't raining! Where has the UK summer gone??!

    Tuesday, 18 September 2007

    Don't Let the Sun go Down on Me

    Haven't taken many photos recently but still working through the backlog...

    One evening a few weeks ago I took the camera out for some exercise and walked up to the top of Laverstock Downs. I grew up in the village and spent many a teenage evening up there with friends watching the world go by and engaging in various teenage antics that our parents would not have agreed with!

    Once I was up there the sun was starting to set and I thought I'd capture a few shots in both infrared and colour.


    I prefer sunsets where there are a few clouds about so that was a perfect evening.

    Tuesday, 24 July 2007

    Infrared...My Favourite Colour!!

    A few weeks back I decided to pimp my compact digital camera with some accessories including a 58mm lens adapter and some filters. Having never used filters before I was specifically interested in Infrared after seeing various cool pics on Flickr such as the ones in the Digital Infrared group.


    I was surprisingly impressed with my first results down the local park but aim to get out again when the sun is shining and try out some different settings.


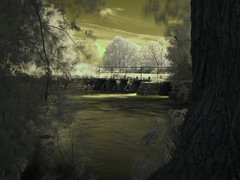
    Infrared Watermill
    Infrared Cathedral
    Infrared River Avon
    Infrared Trees